How To Replace a Broken Strap on a Snapback Hat


The quickest way to increase reselling profits is simple: don't sell whack shit. That's it. Think about it this way, would you want to open up a package only to find the hat you ordered wasn't exactly wearable? Or maybe it was, but only had a little bit of time left? Not really, and soon enough your reviews will reflect that.
It doesn't take much either. Just a bit of know-how and grind goes a long way. To show you what we mean, we've put together a quick instructable on how to replace a busted strap on a vintage hat. At first it may seem like a lot of effort, but once you've got it, you've got it. And your bank account will thank you, too.
What You’ll Need
- busted strap on a snapback hat
- seam ripper (or pointy razor blade)
- thread and needle
- replacement snapback strap
Where to Start

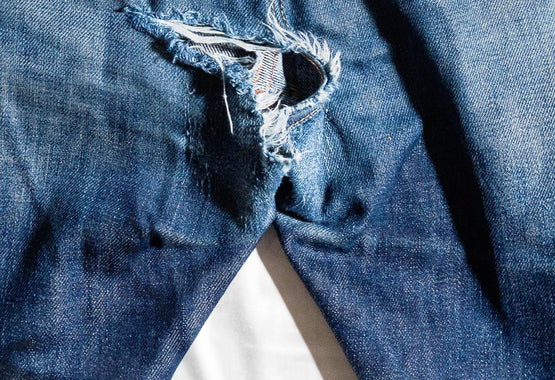
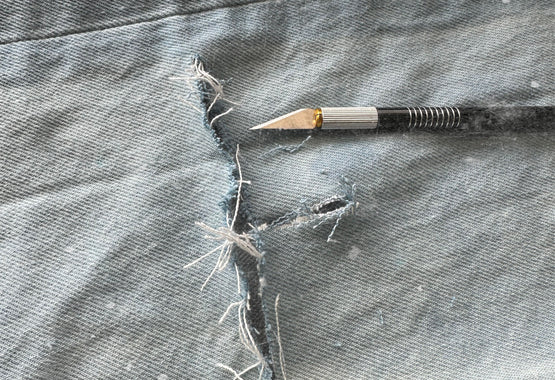
First thing’s first: take a look at where the plastic strap meets the sweatband. You'll notice that it’s been sewn independent of the rest of the construction. That’s the thread run you want to remove first to get the strap completely off. To do this, simply pull on the sweatband a bit away from the strap until you can see the threads. Position your seam ripper (or carefully use a pointed blade) to cut those threads. Careful, those MFers are sharp!

As you go, the gap between the two should get bigger and easier to maneuver in. Do this completely (while avoiding other constructive threads) until the strap comes off. Pull out the remaining loose ends that were attached for a clean appearance. Do this on the other side as well.
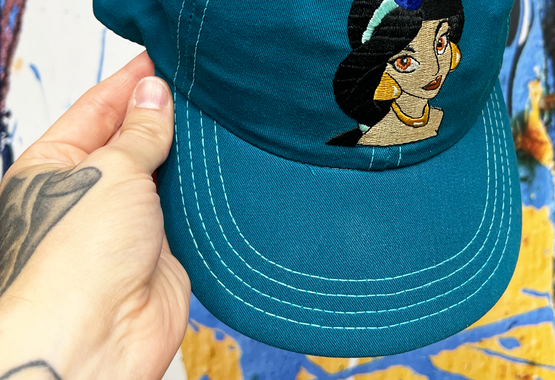
Next, line up the replacement strap in such a way that it mimics exactly the place of the busted one if you can. This ensures a proper fit and placement. As you hold it securely, loop your thread and needle around to start your stitch (see below for some YouTube links to get you on track). As you sew through both the fabric and plastic, be sure to go slow with adequate force to not bend the needle. This part takes a lot of practice to make it look good. But as you’ll notice on some hats, it never looked good in the first place so whatever.

When you’ve gone up and then down the band you’ll need to tie off the thread (keep it hidden for maximum impact). Again, check out the few old ladies on YouTube below who know what they’re doing.
Do the same thing on the other side and you’re done!

Perfecting the Process
You’ll hear from a lot of restorers that there is only “this way” or “that way” to revive hats. Many will say you need expensive machines to be a legend, others not so much. The reality is there are dozens of ways to go about it, and so long as you’re saving something from going into the trash with minimal effort, consider it a win.
As far as the overall process is concerned, do what makes you comfortable. But also check out these videos for the best ways to manage it:
Tips & Tricks

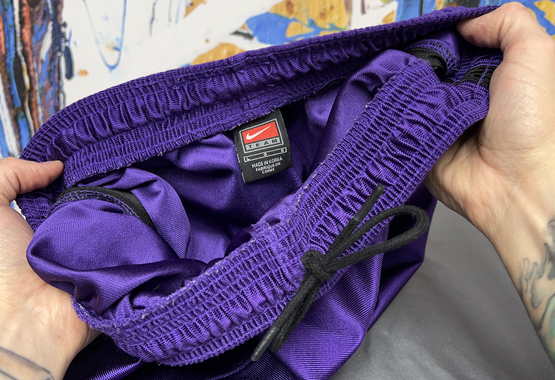
Shop Smart: If you’re an avid reseller, you know there are items out there that just won’t sell for whatever reason (and maybe shouldn’t even be put back into rotation). That doesn’t mean it doesn’t have any parts that aren’t valuable. Many of the too-gone hats will have perfectly good straps on them. They may even match up with what you need to replace exactly. (Think straps that say “Made in USA” or branded ones.) Keep this in mind as you may find the parts out there you need down the road. If not, eBay has plenty of options if you want to spend some coin on making the repairs completely legit.
Know Your Skill Level: There are some incredible repair artists on Instagram doing amazing work out there. These are the people to contact if the repair is more severe (and worth throwing coin at). As Rome wasn’t built in a day, nor will your skills be. Start with a strap, some cleaning and reshaping, and if you want to progress further than that, get after it. If not, don’t try it on expensive resells — it could cost you bigly.
Practice: This should go without saying, but we’ll do it anyway. There’s nothing that’s going to help you more than good old fashioned practice. Try it on some throwaways first, then on some personals, and move onto ones you want to sell. The more you do it, the more it becomes second nature and with a professional end.
Next up ...
How to wash and reshape this bad boy to bring it back to its former '90s glory. Stay tuned.